Greenhouse Bubble Wrap Insulation: How to Do It, How Much It Helps, and What to Buy
Bubble wrap insulation is the most cost-effective single action you can take to reduce greenhouse heating costs. Most gardeners already know about it — fewer know exactly how to do it properly, what type to buy, and how much difference it actually makes.
This guide covers all three.
In this guide, you'll learn:
Why Bubble Wrap Works in a Greenhouse
A standard greenhouse loses heat in two main ways: conduction through the glazing material, and infiltration through gaps and cracks. Bubble wrap addresses the first.
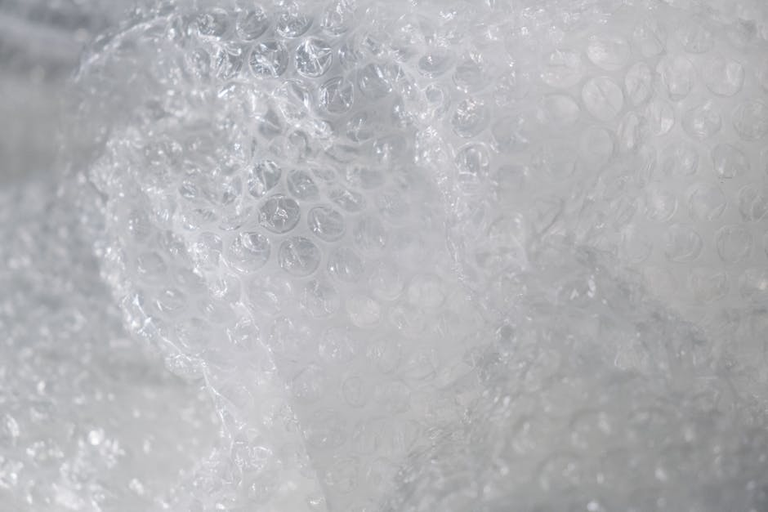
Each bubble traps a pocket of still air. Still air is an excellent insulator — it's why double glazing works, why loft insulation works, and why bubble wrap works. Pressing bubble wrap against the inside of glazing creates an additional insulating layer that significantly slows heat conduction from warm indoor air to the cold glass or polycarbonate outside.
The R-value improvement from a single layer of large-bubble wrap is approximately R-1. This sounds modest, but:
- Single glass pane: R-1 → with bubble wrap: R-2 (doubled insulation)
- Single polycarbonate sheet: R-0.83 → with bubble wrap: ~R-1.8
- Twin-wall polycarbonate: R-1.5 → with bubble wrap: ~R-2.5
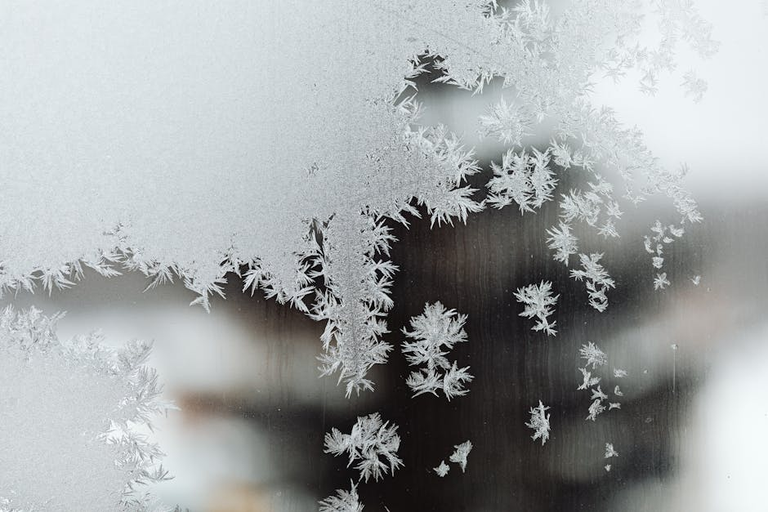
In practice, halving your heat loss through the glazing can reduce heating costs by 25–35% for a greenhouse that was previously uninsulated. On a 3°C night with an uninsulated glass greenhouse, the temperature inside might only stay at 0–1°C without heating. With bubble wrap, the same conditions might yield 2–3°C inside — sometimes the difference between frost damage and not.
Always combine bubble wrap with gap sealing. A draught through a crack wastes more heat than the bubble wrap saves. See the draught proofing guide → for sealing techniques that work on greenhouse doors and vents too.
What Type to Buy: Horticultural vs Standard
Use horticultural bubble wrap (also called greenhouse bubble wrap). It is UV-stabilised, meaning it won't yellow and degrade in sunlight the way standard packaging bubble wrap does. Standard packaging wrap works for one or two seasons but will become brittle and lose transparency quickly if exposed to sunlight — which is, of course, unavoidable in a greenhouse.
What to look for:
- Large bubbles — 20–24mm diameter is the standard for horticultural wrap. Larger bubbles trap more air and provide better insulation than small-bubble wrap.
- UV stabilised — check the product description. Most proper horticultural wrap specifies this.
- Single or double layer — single layer (one side of bubbles) adds ~R-1. Double layer (two bubble layers fused together) adds ~R-2.
Where to buy: Garden centres carry it from August onwards as a seasonal product. Online retailers and agricultural suppliers stock it year-round. A 4m × 1.5m roll covers a small greenhouse for £12–£20 / $15–$25. A large 50m roll is far better value at £35–£60 if you have a larger structure or want to double-layer.
If you're using it on home windows as well, the same horticultural wrap works on both. See the best bubble wrap buying guide → for more sourcing options.
Installation on Glass
Glass greenhouses are the easiest to insulate with bubble wrap because the water-adhesion method works perfectly: spray the glass with water and press the wrap on with bubbles facing the glass. No clips or tape needed.
- Measure each pane and cut the bubble wrap to size — cut it 5–10mm smaller than the pane on each side so it sits inside the frame rebate without touching the frame
- Spray a fine mist of water onto the glass surface
- Press the bubble wrap onto the wet glass with the bubbles facing the glass (smooth side facing inward)
- Smooth from the centre outward to remove air pockets and ensure good adhesion
- The wrap will stay in place all winter without any fixings
In spring, peel it off from one corner. It comes off cleanly with no residue. Roll it up and store for next year — it can be reused for 3–5 seasons if it's horticultural grade.
Installation on Polycarbonate
The water-adhesion method also works on smooth polycarbonate, but the surface tension is slightly lower than glass and the wrap may not hold as securely on large panels. For polycarbonate, use double-sided tape around the perimeter of each panel to secure the wrap:
- Stick double-sided tape around the frame of each polycarbonate panel, just inside the frame lip
- Cut bubble wrap to size (5–10mm smaller than the panel)
- Press the wrap onto the tape at all four sides, bubbles facing outward (away from you, toward the panel)
- Press the centre against the polycarbonate surface — it will hold by the tape perimeter and its own weight
Use UV-resistant double-sided tape for longevity — standard tape can degrade in UV and lose adhesion mid-season.
For twin-wall polycarbonate, note that the flutes (channels running top to bottom) can accumulate condensation when bubble wrap is added. Ensure the bottom channel is open to allow drainage — if the panel is already sealed, drill small drain holes at the base.
Double Layer Method
For the coldest climates or for winter growing of more tender crops, a double layer of bubble wrap approximately doubles the insulation value:
- Inner layer: water-adhered to the glass surface as normal
- Outer layer: clipped or taped to the greenhouse frame, 20–30mm in front of the first layer, creating an additional air gap between the two layers
This configuration — glass + 20mm air gap + bubble wrap layer 1 + 20mm air gap + bubble wrap layer 2 — achieves approximately R-3, matching or exceeding the performance of triple-glazing at a tiny fraction of the cost.
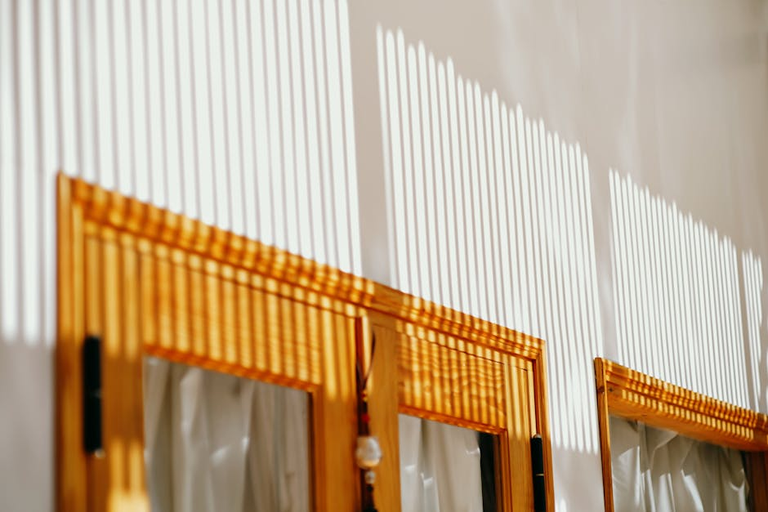
The downside is significantly reduced light transmission. Each layer of bubble wrap reduces light by 10–15%. A double layer reduces light by 20–30% — significant for winter crops that are already light-limited. Use this method on walls and north-facing areas where light is less critical; use a single layer on south-facing and roof glazing.
How Much Does It Actually Save?
For a typical 8×6ft glass greenhouse in the UK or northern US:
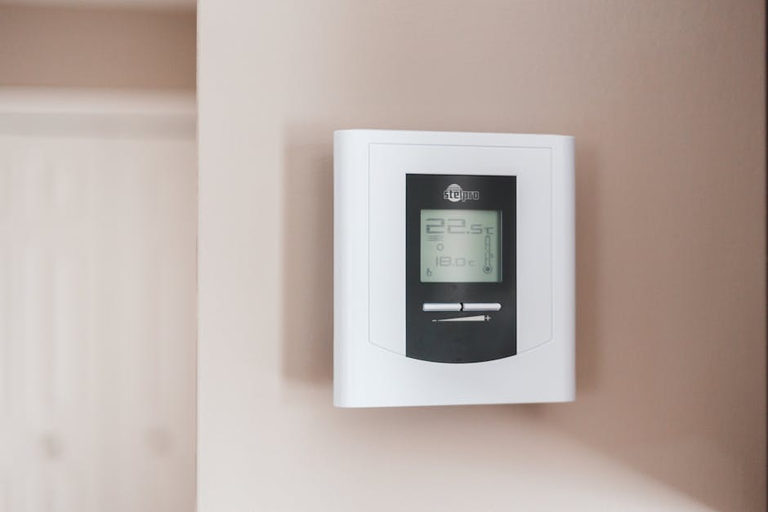
- Uninsulated electric heating to maintain 5°C through winter: approximately £250–£400 / $300–$500 per season
- With single-layer bubble wrap glazing: heating cost reduced by 25–35% → saving £65–£140 / $75–$175 per season
- Cost of bubble wrap for an 8×6ft greenhouse: £15–£25 / $20–$35 (one large roll)
- Payback: within the first week of the heating season
Even without any electric heating, bubble wrap can make the difference on marginal nights — keeping temperatures 2–4°C higher than an uninsulated structure. This can eliminate or reduce frost damage to overwintering plants that are kept just above freezing.
For a full overview of cheap greenhouse heating options beyond bubble wrap, see the complete greenhouse heating guide →
Frequently Asked Questions
Does bubble wrap work for greenhouse insulation?
Yes, significantly. A single layer of large-bubble horticultural wrap reduces heat loss through greenhouse glazing by approximately 30%. It is the cheapest and most accessible greenhouse insulation material and the first thing to do before investing in any heating system.
What type of bubble wrap should I use for a greenhouse?
Use horticultural bubble wrap — UV-stabilised, large bubbles (20–24mm diameter). Standard packaging bubble wrap degrades in sunlight within one or two seasons. Horticultural wrap lasts 3–5+ seasons and is specifically designed for greenhouse use.
Which side of bubble wrap goes on the greenhouse?
For glass: bubbles face the glass, smooth side faces inward toward the greenhouse interior. The bubbles grip the water-dampened glass surface. For polycarbonate secured with tape: either orientation works as the tape holds the wrap — conventionally bubbles face outward toward the polycarbonate.
How do I attach bubble wrap to a greenhouse?
For glass: spray water on the glass and press the bubble wrap on — surface tension holds it all season without tape or clips. For polycarbonate or metal frames: use double-sided tape around the perimeter, or purpose-made greenhouse clips or bulldog clips along the frame rails.